The Xubuntu 16.04 LTS version got released on April 2016 much to the joy of all Ubuntu lovers and especially techies who love to work with a desktop environment. With Xfce, Xubuntu 16.04 LTS is a lightweight and stable desktop environment that is also configurable according to your specifications.
It is a perfect DE (Desktop environment) for people looking to get the most out of their system combined with a surreal look and equipped with a lot of features to handle all kinds of stress of a daily usage of a normal user.
People looking for stability should switch to Xubuntu 16.04 LTS (long term support) version, as you’ll get support and important updates till 2019.

System Requirements
When installing from a Minimal CD, you should’ve at least 128 MB of memory as the Debian installer downloads the required packages during the installation process.
You need to free up 6.1 GB of space on your hard disk, if you are installing Xubuntu 16.04 LTS version using the Desktop CD.Also PAE should be supported by your processor to install Xubuntu on your system.
Installing Xubuntu 16.04 LTS
Now let’s take a look at the steps involved in installing Xubuntu 16.04:
Step:1 First download the Xubuntu 16.04 ISO from the Xubuntu website
Step:2 Create a Virtual Machine for Xubuntu
In this tutorial i will install Xubuntu on VMware Workstation, though you can use below steps to install Xubuntu on your Laptop or Desktop.
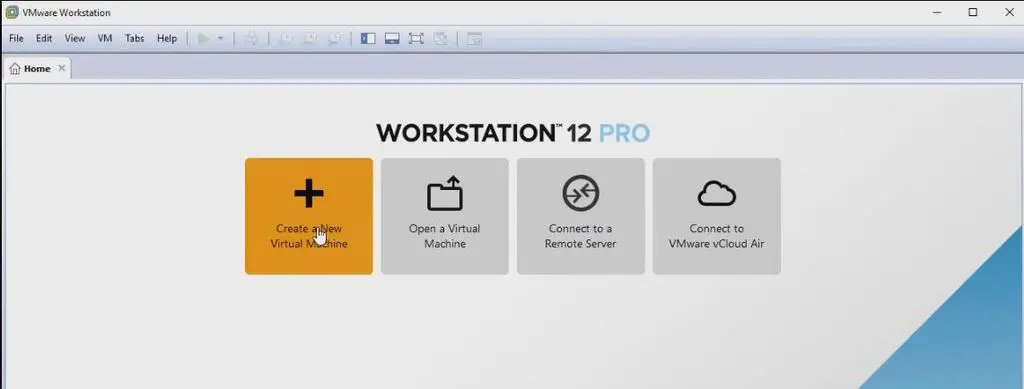
a) Open the VMWare Workstation and create new virtual machine for Xubuntu
b) As you know already select Linux as the guest operating system and Ubuntu 64 bit as the version and provide a name for your VM
c) Specify the size you need for your VM
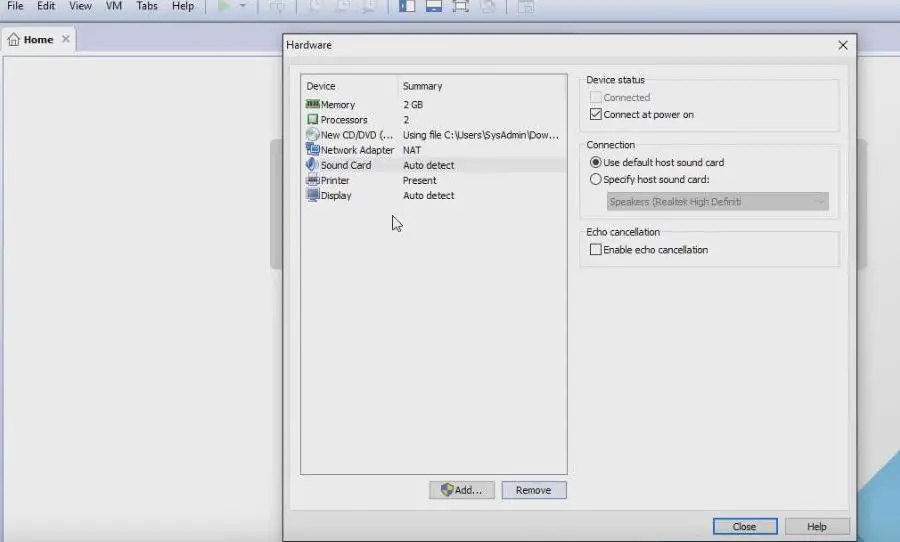
d) You can also customize the hardware by increasing the memory and no. of cores per processor required
e) Select the ISO file you’ve downloaded and remove printer, sound card and USB controller options
f) And now you’ve the VM installed, you can start the installation process
Step:3 Installation Process
a) Now Click ‘power on your VM’ and click ‘Install Xubuntu’

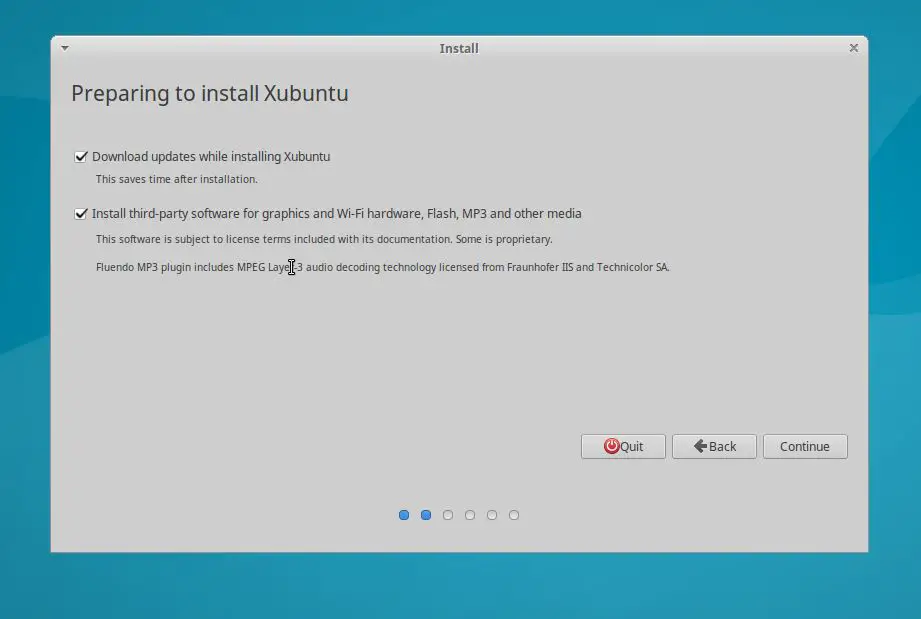
b) And don’t forget to select “Download Updates while installing Xubuntu” and “Install third party graphics, wifi and other hardware” and click continue
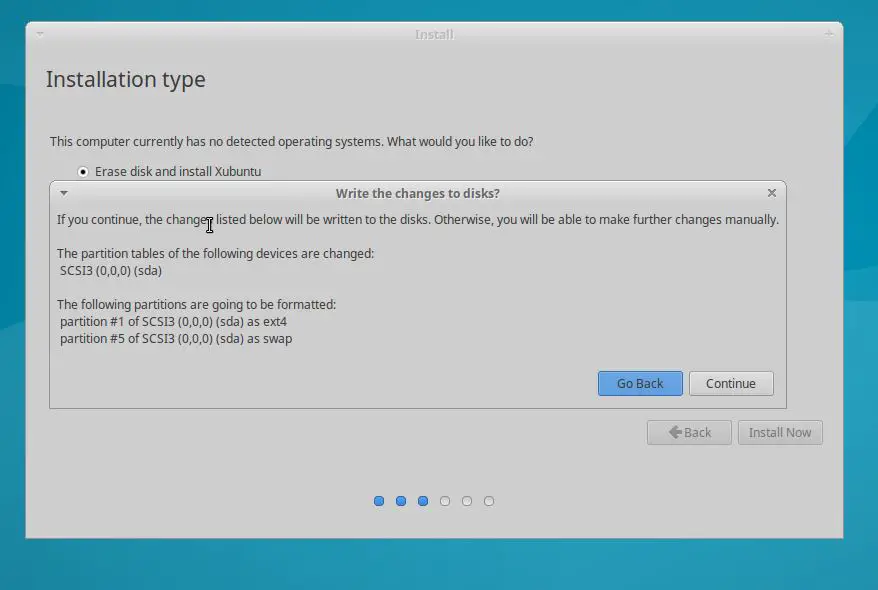
c) And if you want a fresh install, you can choose “Erase Disk and Install Xubuntu” and click “Install Now”
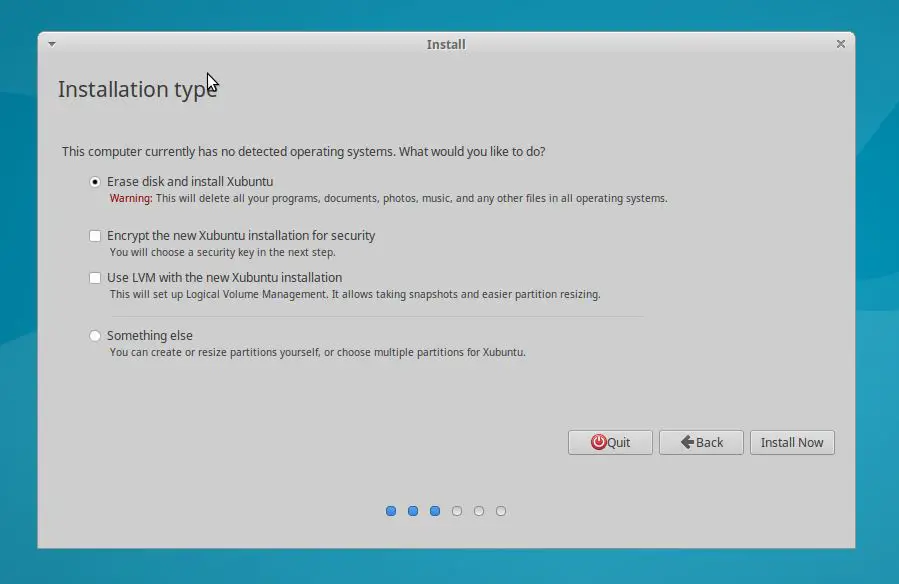
It will prompt us to confirm to write the changes to the disk, Click on Continue to proceed.
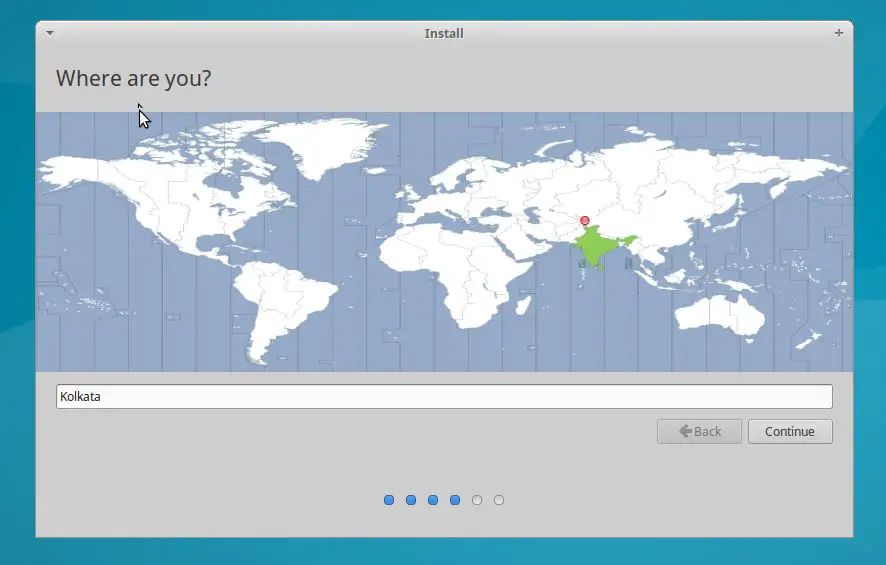
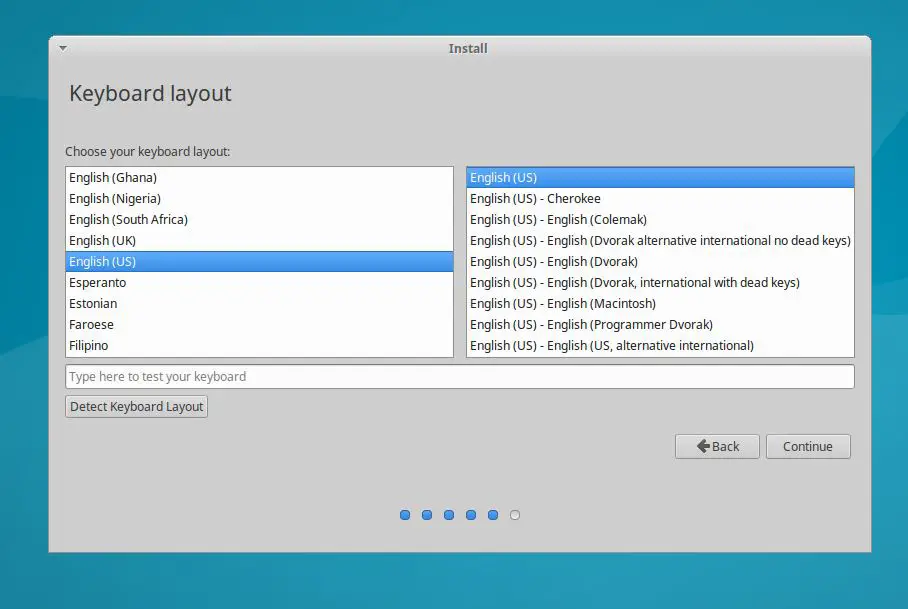
d) Next step is to select your location and your keyboard layout
e) Now the user registration screen appears, where you need to fill in your personal details including:
- Your Name
- Computer Name
- Desired Username
- Password etc
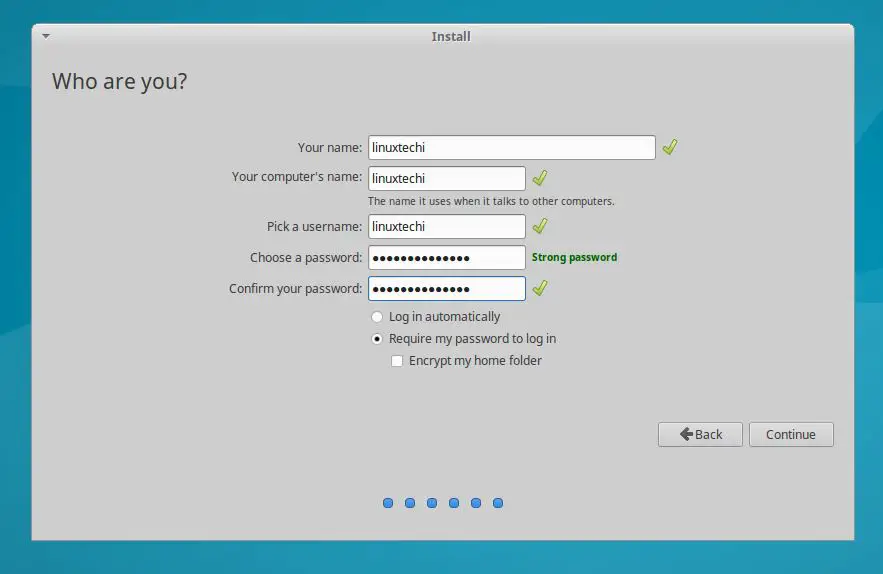
Click on Continue…
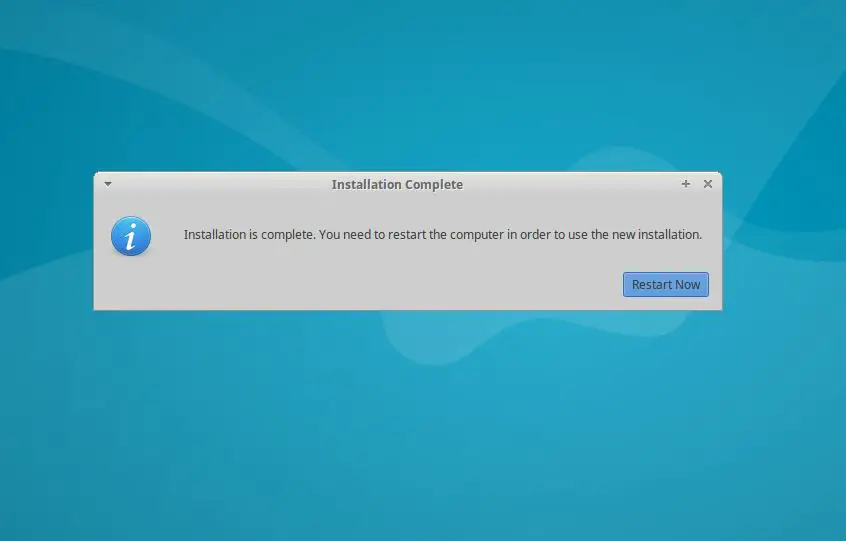
f) And now the installation process gets started and once it’s gets completed, it will prompt us to restart the machine.

Step:4 Post Installation Tasks
a) Check the IP Configuration and Network Connectivity
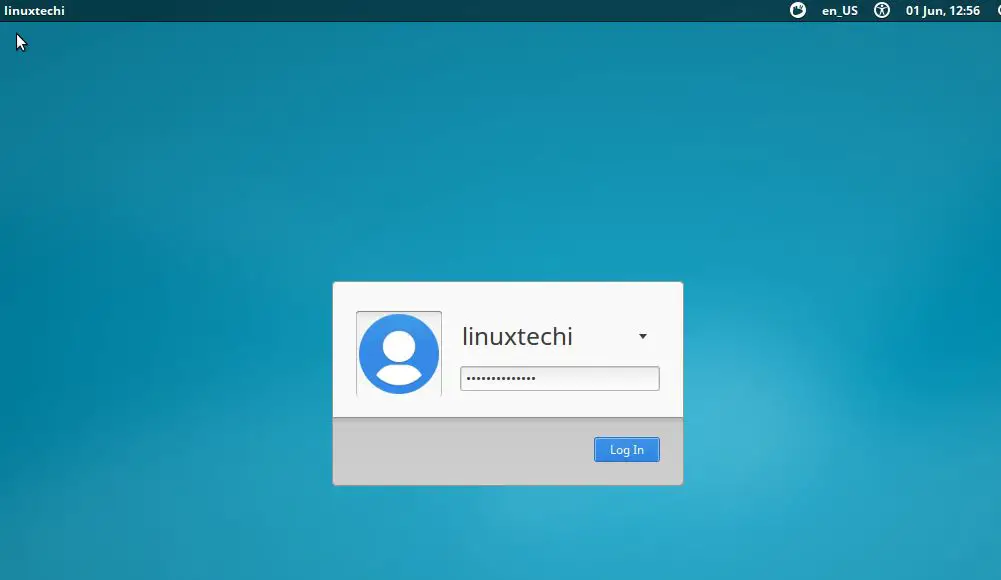
Login to the system with user credentials that were created during Xubuntu installation.
Open the terminal and type “ip add” or “ifconfig” command to check the IP address.
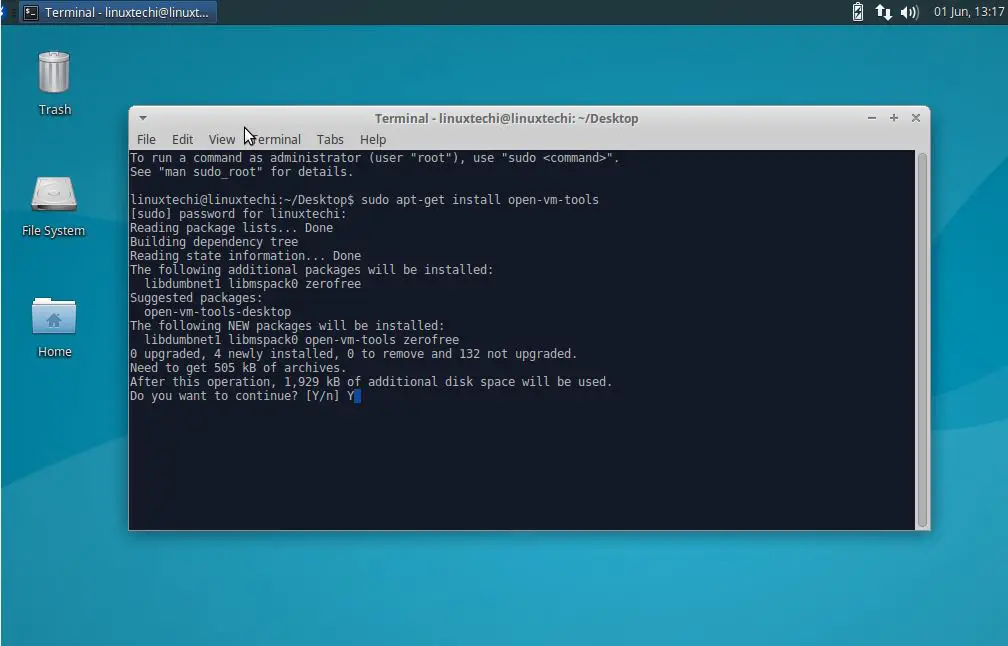
b) Install Open VM Tools using below apt-get command from the terminal.
$ sudo apt-get install open-vm-tools
It may take just around 2-3 mins and once the installation is completed, you need to reboot your system. And now you can see the “View-Fit on Guest Now” feature to be working after the VM Tools installation.
The drag and drop feature also seems to be working between the host and the guest.
c) Install Graphic Drivers : Xubuntu supports most of the graphics hardware like NVidia and Intel and if you need to have a seamless gaming experience from your Xubuntu machine, then you should always install the proprietary hardware specified for your hardware.
d) Install Media Codecs : If you need to play mp3 in your Xubuntu system, then you need to remove the default restrictions by selecting “Enable restricted Formats” and all the required codes will get installed automatically into your system
e) Other cool things you can do is to enable minimise on click, move the unity launcher on to the side of your desktop and install New GTK and icon themes for your Xubuntu system etc.
f) Explore the Software Store : And finally explore the software store, which is host to thousands of free apps.

g) And install other much needed apps like Google Chrome, Viber, DropBox from outside the software store.
And finally spread the word about Xubuntu 16.0.4 LTS if you like it!!!!
VMWare Workstation?? You lost me right at the beginning. What/where is that to be found?
I’ve got the Xubuntu *.iso file, and managed to make it into a virtual CD (V drive). Cannot detect how to move forward from here.